Rustic Homemade Sourdough Bread Recipe
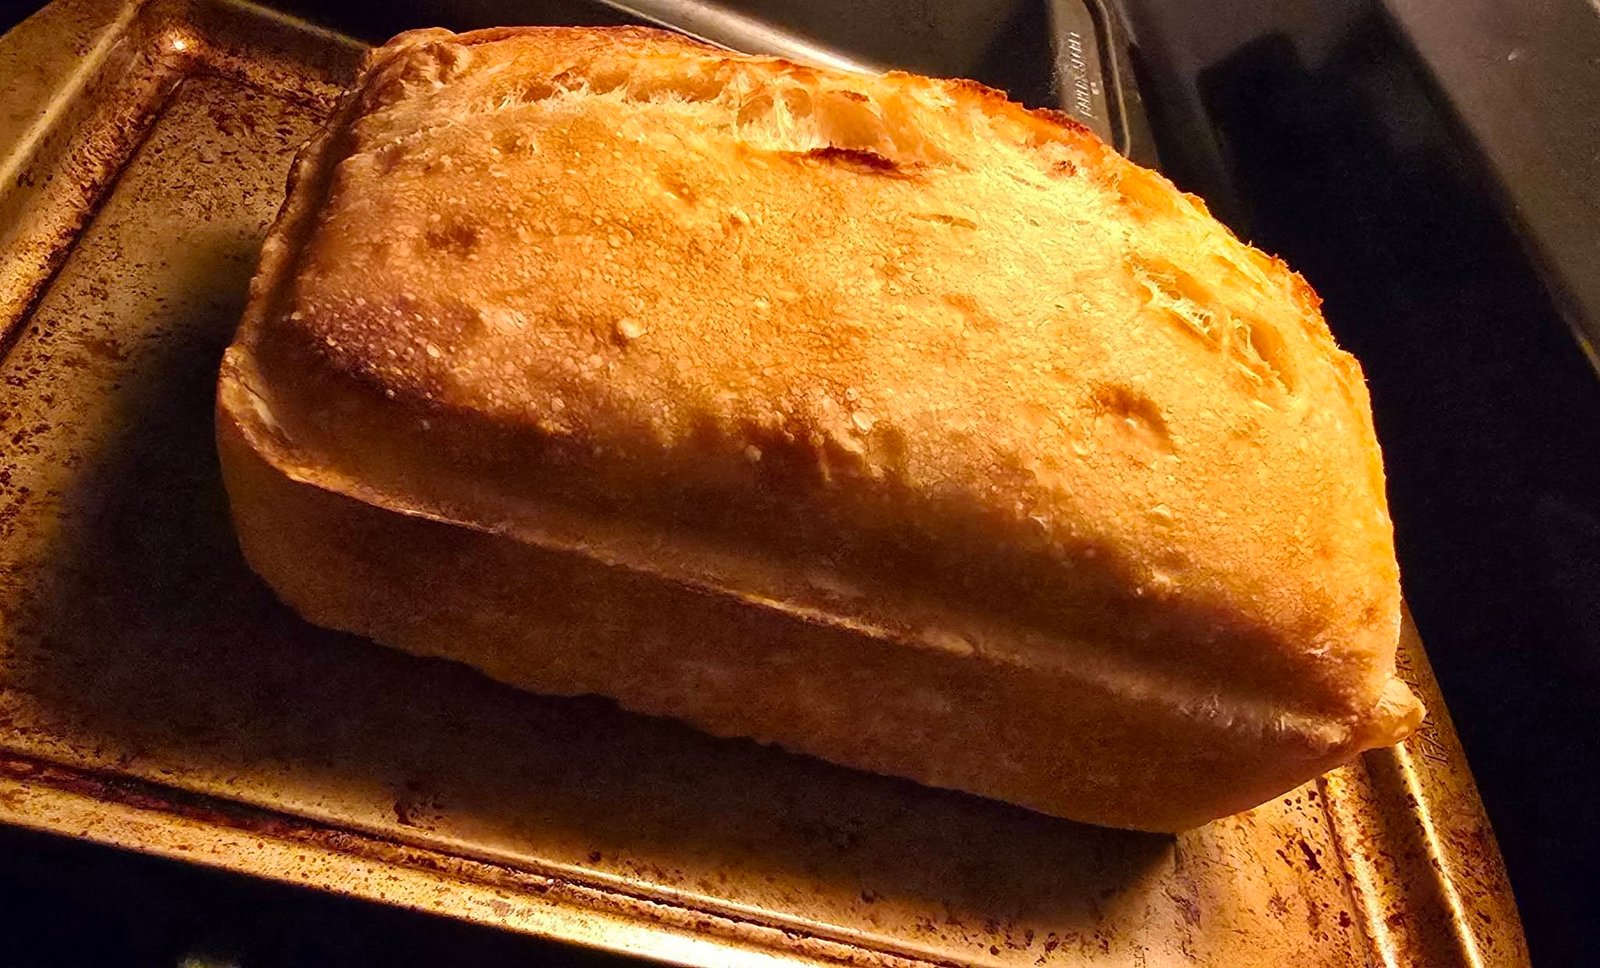
There is something incredibly comforting about the smell of fresh bread baking in the oven. A golden crust, soft chewy inside, and that rich homemade flavor make sourdough bread one of the most satisfying things you can bake at home. This rustic homemade sourdough loaf is simple, traditional, and perfect for beginners who want bakery style bread without complicated techniques.
The best part about sourdough bread is that it is made with natural fermentation. Instead of relying only on commercial yeast, the sourdough starter gives the bread a deep flavor, airy texture, and crisp crust that regular bread often lacks. Every loaf has its own personality, and once you make your first successful loaf, you will want to keep baking again and again.
This recipe creates a beautifully rustic loaf with a crunchy golden crust and soft interior. It pairs perfectly with butter, soups, sandwiches, or simply toasted for breakfast. Whether you are baking for your family or just enjoying the process of homemade bread making, this recipe delivers delicious results every time.
Why You Will Love This Sourdough Bread
One of the reasons sourdough bread is loved around the world is because of its unique flavor and texture. The crust becomes beautifully crisp while the inside stays soft and airy. Unlike store bought bread, homemade sourdough has a fresh natural taste that feels hearty and wholesome.
Another reason to love this bread is its versatility. You can enjoy it plain, use it for sandwiches, dip it into soups, or toast slices with butter and jam. It also stores well and tastes even better the next day.
The slow fermentation process also helps develop flavor naturally. While sourdough takes more patience than regular bread, the results are absolutely worth it.
Ingredients
For the Dough
- 500 grams bread flour
- 350 grams warm water
- 100 grams active sourdough starter
- 10 grams salt
Optional Additions
- Extra flour for dusting
- Olive oil for hands
- Cornmeal or parchment paper for baking
Equipment Needed
Having the right tools can make sourdough baking easier. Here are a few helpful items:
- Large mixing bowl
- Kitchen scale
- Dough scraper
- Banneton basket or bowl lined with towel
- Sharp knife or bread lame
- Dutch oven or baking stone
You do not need fancy bakery equipment to make great bread. Even simple kitchen tools can create amazing homemade sourdough.
Step 1: Feed Your Sourdough Starter
Before making the dough, make sure your sourdough starter is active and bubbly. Feed it about 4 to 6 hours before baking. A healthy starter should double in size and smell slightly tangy.
To test if the starter is ready, place a small spoonful into water. If it floats, it is active enough to use.
A strong starter is the secret to a beautifully risen loaf.
Step 2: Mix the Dough
In a large bowl, combine the warm water and active sourdough starter. Stir until the starter dissolves into the water.
Add the bread flour and mix until a shaggy dough forms. Let the dough rest for about 30 minutes. This step is called autolyse, and it helps improve texture and gluten development.
After resting, sprinkle the salt over the dough and mix thoroughly. The dough may feel sticky at first, but that is completely normal.
Step 3: Stretch and Fold
Instead of kneading traditionally, sourdough bread often uses stretch and fold techniques. This method strengthens the dough while keeping the texture airy.
Wet your hands slightly, grab one side of the dough, stretch it upward, and fold it over itself. Rotate the bowl and repeat this process four times.
Cover the bowl and let the dough rest for 30 minutes.
Repeat the stretch and fold process 3 to 4 times over the next 2 hours.
You will notice the dough becoming smoother and more elastic after each round.
Step 4: Bulk Fermentation
After the stretch and folds are complete, cover the bowl and let the dough rise at room temperature for several hours. This is known as bulk fermentation.
Depending on the temperature of your kitchen, this may take 4 to 6 hours. The dough should look puffier, smoother, and slightly doubled in size.
Patience is important during this stage because proper fermentation creates flavor and structure.
Step 5: Shape the Dough
Lightly flour your work surface and gently turn the dough out onto it.
Shape the dough into a round or oval loaf by folding the edges inward and creating surface tension. Try not to press out all the air bubbles.
Place the shaped dough into a floured banneton basket or towel lined bowl with the seam side facing upward.
Cover and let it rest for another hour at room temperature or place it in the refrigerator overnight for cold fermentation.
Cold fermentation gives the bread even deeper flavor and makes scoring easier.
Step 6: Preheat the Oven
Preheat your oven to 475°F or 245°C for at least 30 minutes.
If using a Dutch oven, place it inside while the oven heats. A hot Dutch oven helps create steam, which gives sourdough its beautiful crust.
Step 7: Score and Bake
Carefully place the dough onto parchment paper or directly into the hot Dutch oven.
Use a sharp knife or bread lame to score the top of the loaf. Scoring allows the bread to expand properly during baking.
Bake covered for 25 minutes.
Remove the lid and continue baking for another 20 to 25 minutes until the crust becomes deep golden brown.
The loaf should sound hollow when tapped on the bottom.
Step 8: Cool Before Slicing
This step is often the hardest because fresh bread smells amazing straight from the oven.
Allow the loaf to cool completely before slicing. Cooling helps the crumb finish setting inside.
Cutting too early may result in gummy texture.
Once cooled, slice and enjoy the crispy crust and soft chewy interior.
Tips for Perfect Sourdough Bread
Use Bread Flour
Bread flour contains more protein, which helps create stronger gluten and better structure.
Do Not Rush Fermentation
Slow fermentation develops flavor and texture. Cooler temperatures may require more rising time.
Keep the Dough Hydrated
Sticky dough creates airy bread. Avoid adding too much extra flour.
Practice Makes Perfect
Every loaf teaches you something new. Even imperfect loaves taste delicious.
Serving Ideas
This rustic sourdough bread is incredibly versatile. Here are a few delicious ways to enjoy it:
- Toasted with butter and honey
- Served alongside soup or stew
- Used for grilled cheese sandwiches
- Topped with avocado and eggs
- Dipped into olive oil and herbs
Fresh sourdough also makes excellent garlic bread or homemade croutons.
How to Store Sourdough Bread
Store the bread at room temperature in a paper bag or bread box for up to 3 days.
Avoid storing it in plastic because it can soften the crust.
For longer storage, slice the bread and freeze it in airtight bags. Toast slices directly from frozen whenever needed.
Final Thoughts
Baking sourdough bread at home is more than just making food. It is a relaxing and rewarding experience that connects simple ingredients with traditional baking methods. Watching the dough rise, smelling the crust bake, and slicing into a warm loaf creates a sense of accomplishment that few recipes can match.
This rustic homemade sourdough loaf delivers everything people love about artisan bread — crispy crust, chewy crumb, and rich flavor. Whether you are a beginner or experienced baker, this recipe is one worth keeping in your kitchen forever.


