A 100-Year-Old Pie Crust Recipe That Still Shines
There’s something truly magical about old-fashioned recipes passed down through generations. Long before fancy kitchen gadgets, pre-made dough, and store-bought shortcuts, home bakers created beautiful pies completely from scratch using simple pantry staples and techniques learned from family traditions. This 100-year-old pie crust recipe is one of those timeless treasures that continues to shine even today.
Handed down from my great-grandmother’s kitchen, this pie crust recipe has remained a family favorite for decades. It’s flaky, tender, buttery, and incredibly versatile. Whether filled with sweet apples, rich pumpkin filling, creamy custard, or savory chicken pot pie filling, this crust creates the perfect homemade pie every single time.
What makes this recipe so special is its simplicity. With only a few humble ingredients — flour, fat, salt, sugar, egg, and ice water — you can create a pie crust that tastes far better than anything from the grocery store.
If you’ve been searching for the perfect old-fashioned pie crust recipe, this vintage classic is exactly what your kitchen needs.
Why This Pie Crust Recipe Is So Special
Unlike many modern pie crust recipes, this one uses traditional methods that create an exceptionally flaky texture. The shortening or lard coats the flour perfectly, creating layers that bake into crisp, buttery perfection.
This recipe is:
- Easy to make
- Perfectly flaky
- Rich and tender
- Great for beginners
- Ideal for sweet and savory pies
- Freezer-friendly
The dough is forgiving and easy to work with, making it perfect even if you’ve never made pie crust from scratch before.
The History Behind Vintage Pie Crust Recipes
A hundred years ago, recipes were often handwritten in notebooks and passed from one generation to another. Families relied on simple ingredients because they were affordable, practical, and available year-round.
Traditional pie crusts were commonly made using lard because it created unmatched flakiness. Over time, shortening became popular as well, but many bakers still swear by the old-fashioned lard method.
These vintage recipes weren’t filled with complicated instructions. Instead, they focused on simple techniques and quality ingredients — proof that classic recipes never go out of style.
Ingredients You’ll Need
For the Pie Crust Dough
- 4 cups all-purpose flour
- 1¾ cups shortening or traditional lard
- 3 tablespoons sugar
- 2 teaspoons salt
- 1 egg
- ½ cup ice water
These simple ingredients come together to create a rich and flaky pie crust with incredible texture.
Why Each Ingredient Matters
Flour
All-purpose flour gives the dough structure while still keeping it tender.
Shortening or Lard
This creates the flaky layers that make homemade pie crust unforgettable.
Lard gives a more traditional vintage flavor, while shortening creates a lighter texture.
Sugar
A small amount adds flavor and helps create a beautiful golden crust.
Salt
Enhances the buttery flavor and balances sweetness.
Egg
Helps bind the dough together and adds richness.
Ice Water
Keeps the fat cold, which is essential for flaky pie crust.
Kitchen Tools Needed
Before starting, gather these simple kitchen tools:
- Large mixing bowl
- Pastry cutter or fork
- Rolling pin
- Plastic wrap
- Measuring cups and spoons
- Pie dish
You don’t need fancy equipment to make beautiful homemade pie crust.
Step-By-Step Instructions
Step 1: Mix the Dry Ingredients
In a large mixing bowl combine:
- Flour
- Sugar
- Salt
Whisk everything together until evenly mixed.
This ensures the salt and sugar distribute properly throughout the dough.
Step 2: Cut in the Fat
Add the shortening or lard to the flour mixture.
Using a pastry cutter, fork, or even your fingertips, cut the fat into the flour until the mixture resembles coarse crumbs.
You should still see small pea-sized pieces of fat throughout the mixture.
These little pieces are what create flaky layers during baking.
Do not overmix.
Step 3: Add Wet Ingredients
In a separate bowl:
- Beat the egg
- Mix with ice water
Slowly pour the liquid into the flour mixture while stirring gently with a fork.
Mix only until the dough begins coming together.
The dough should look slightly shaggy but moist enough to hold when pressed together.
Avoid overworking the dough because this can make the crust tough.
Step 4: Form the Dough
Turn the dough onto a lightly floured surface.
Divide into two equal portions and shape into flat discs.
Wrap each disc tightly in plastic wrap.
Refrigerate for at least 30 minutes before rolling out.
Chilling the dough is important because it relaxes the gluten and keeps the fat cold.
This creates a tender and flaky crust.
Step 5: Roll Out the Dough
Lightly flour your surface and rolling pin.
Roll the dough outward from the center until it forms a circle slightly larger than your pie dish.
Turn the dough occasionally while rolling to prevent sticking.
Carefully transfer the crust into your pie dish.
Press gently into the bottom and sides.
Trim any excess dough around the edges.
Step 6: Fill and Bake
Now your crust is ready for your favorite filling.
Use it for:
- Apple pie
- Pumpkin pie
- Cherry pie
- Chicken pot pie
- Quiche
- Hand pies
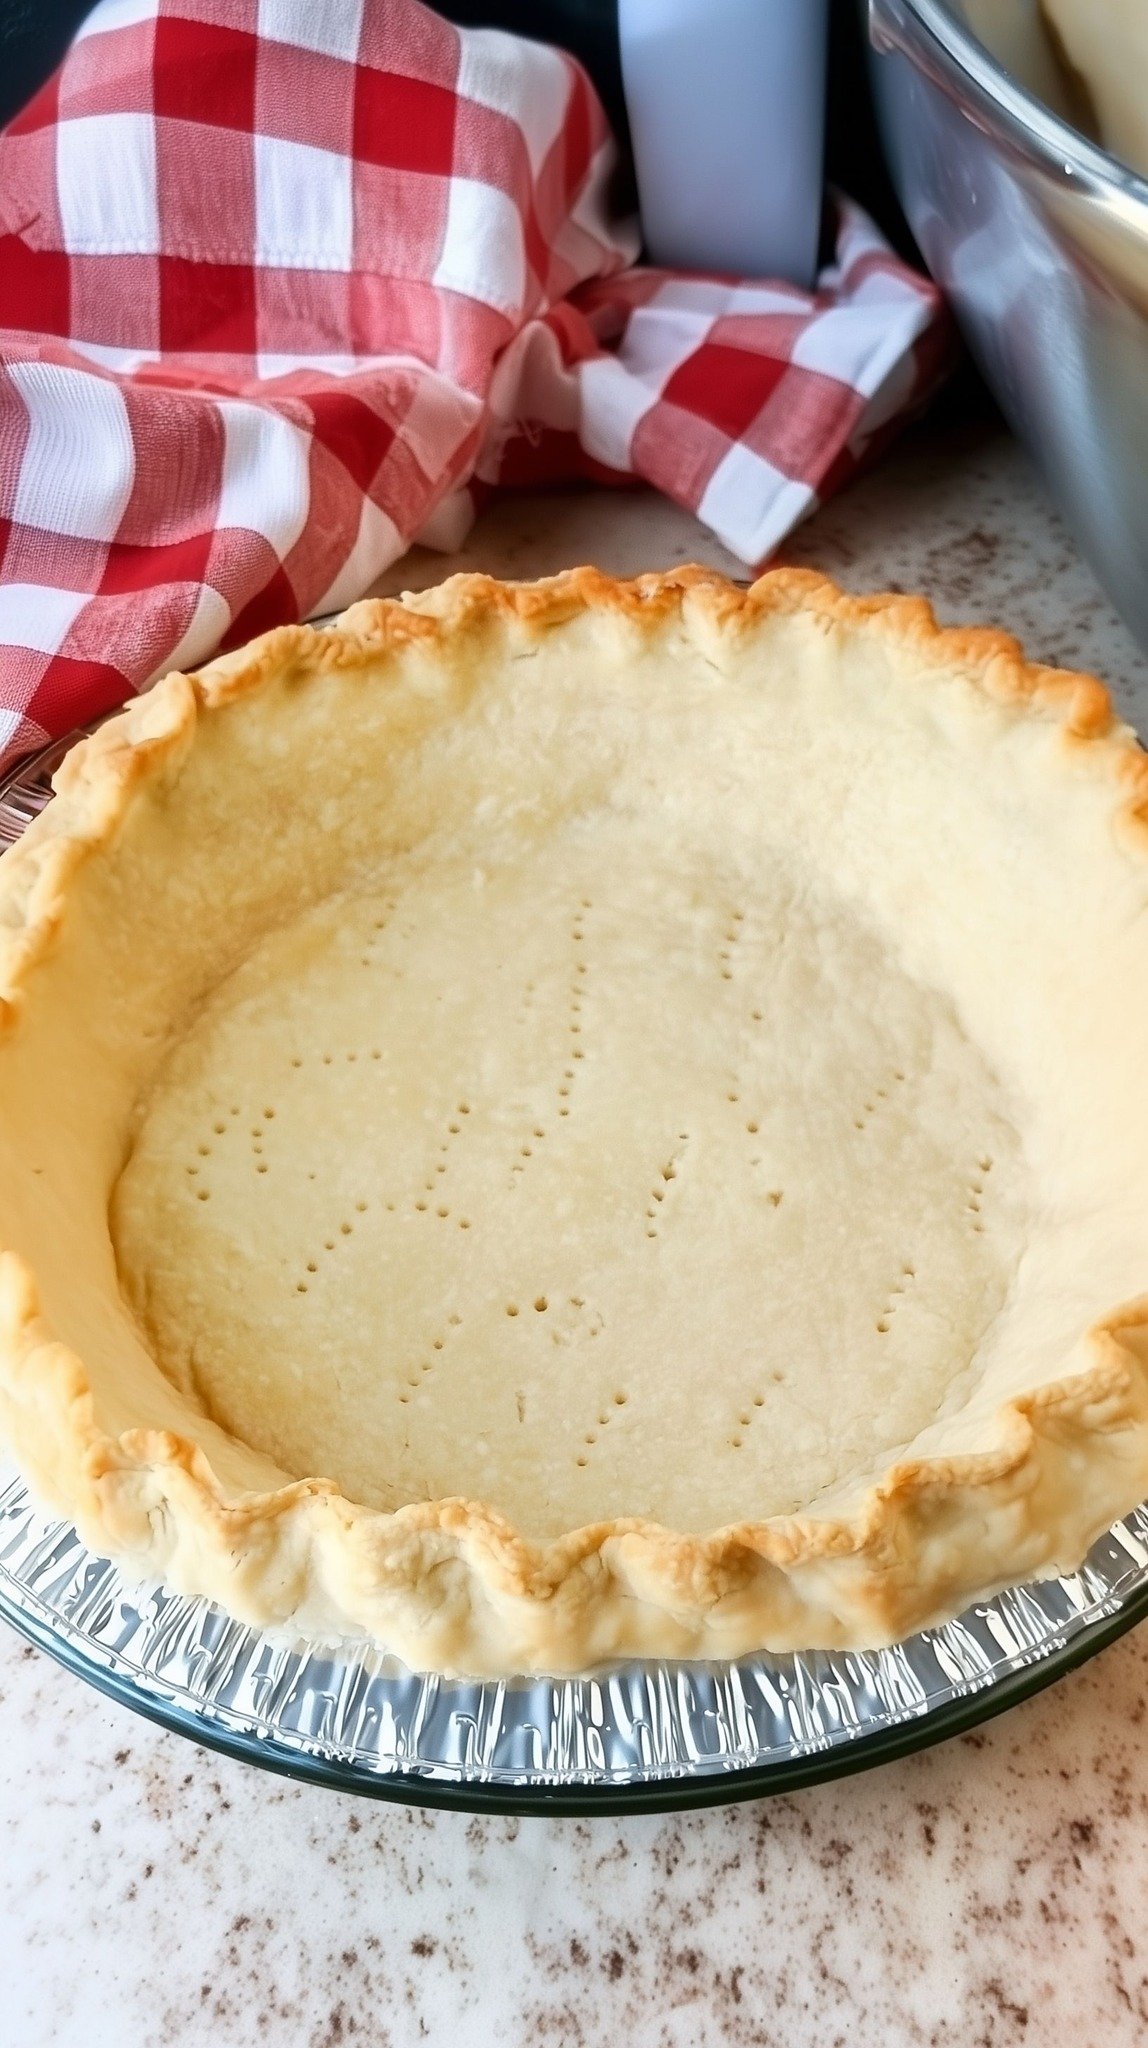
Bake according to your pie recipe instructions.
The crust bakes beautifully golden with crisp flaky layers.
Why Cold Ingredients Matter
One of the biggest secrets to perfect pie crust is keeping everything cold.
Cold fat creates steam pockets during baking, which produces flaky layers.
If the butter, lard, or shortening melts before baking, the crust can become dense and greasy.
Helpful tips:
- Use ice water
- Chill dough before rolling
- Refrigerate the crust before baking
These small steps make a huge difference.
Best Fillings for This Pie Crust
This versatile crust works perfectly for almost every type of pie.
Apple Pie
Classic cinnamon-spiced apples pair beautifully with flaky crust.
Pumpkin Pie
Rich creamy filling balances perfectly with crisp pastry.
Pecan Pie
Sweet nutty filling tastes amazing with buttery crust.
Chicken Pot Pie
Savory creamy filling creates the ultimate comfort food.
Berry Pie
Blueberries, strawberries, or cherries all work wonderfully.
Pro Tips for Perfect Pie Crust
Don’t Overmix
Overworked dough develops too much gluten and becomes tough.
Keep Everything Cold
Cold ingredients create flaky layers.
Chill Before Baking
A cold crust holds its shape better in the oven.
Use Minimal Flour
Too much extra flour while rolling can dry out the dough.
Handle Gently
The less you handle the dough, the more tender it stays.
Storage and Freezing
Refrigerator
Store wrapped dough in the refrigerator for up to 3 days.
Freezer
Freeze dough discs tightly wrapped for up to 2 months.
Thaw overnight in the refrigerator before using.
This makes pie prep quick and easy for holidays and gatherings.
Delicious Variations
Butter Pie Crust
Replace shortening with butter for richer flavor.
Herb Crust
Add dried thyme or rosemary for savory pies.
Sweet Cinnamon Crust
Add cinnamon and extra sugar for dessert pies.
Whole Wheat Crust
Substitute part of the flour with whole wheat flour for nuttier flavor.
Why Homemade Pie Crust Is Worth It
Store-bought crusts may save time, but homemade pie crust has unmatched flavor and texture.
The buttery aroma, flaky layers, and rich taste make every pie feel extra special.
There’s also something comforting about making dough completely from scratch — especially using a recipe loved for generations.
Baking old-fashioned recipes helps keep family traditions alive while creating new memories around the table.
Serving Suggestions
This pie crust tastes incredible with:
- Vanilla ice cream
- Fresh whipped cream
- Hot coffee
- Caramel drizzle
- Fresh berries
Whether served warm from the oven or chilled the next day, every bite feels comforting and homemade.
Final Thoughts
This 100-year-old pie crust recipe proves that the simplest recipes are often the very best. Made with basic ingredients and traditional techniques, it creates a flaky, tender crust that never goes out of style.
From holiday pies to everyday comfort baking, this vintage recipe delivers delicious results every single time. It’s easy enough for beginners yet trusted by experienced bakers for generations.
Once you taste the buttery flaky layers of this homemade crust, you’ll understand why families have treasured recipes like this for over a century.
So grab your rolling pin, dust your counter with flour, and bring a little old-fashioned baking magic into your kitchen today.


