Unloaf Sourdough Bread Recipe – The Easiest No-Fuss Artisan Loaf
If you love homemade sourdough but hate complicated steps, this “Unloaf Sourdough” recipe is about to become your new favorite. No stretch-and-folds, no complicated techniques, and no overnight fridge fermentation — just mix the ingredients, let time do the work, and bake a beautiful artisan loaf with a crispy crust and soft airy center.
What makes this recipe special is how forgiving it is. You can use sourdough discard, unfed starter, or active starter, and it still turns out amazing every single time. Whether you’re a beginner baker or someone who wants an easier sourdough routine, this recipe delivers bakery-style bread with minimal effort.
The slow room-temperature fermentation creates incredible flavor naturally, while the Dutch oven gives the loaf that gorgeous golden crust everyone loves.
Why This Recipe Is Called “Unloaf Sourdough”
Traditional sourdough recipes often require:
- Multiple stretch-and-fold sessions
- Exact timing
- Cold fermentation overnight
- Complicated shaping methods
But this recipe breaks all the rules in the best way possible.
Everything gets mixed in one bowl, left alone overnight, and baked straight from a cold oven. It’s simple, relaxed, and nearly impossible to mess up.
That’s why many home bakers call it the “lazy sourdough” method — but the results still look and taste completely artisan.
Ingredients
- 165g unfed sourdough starter or discard
- 400g warm water
- 650g bread flour or unbleached all-purpose flour
- 15g sea salt
Why Sourdough Bread Is So Loved
Sourdough bread has been made for thousands of years using natural wild yeast and bacteria. Unlike commercial bread made with instant yeast, sourdough develops flavor slowly through fermentation.
This natural process creates:
- Better texture
- Rich tangy flavor
- Crisp crust
- Chewy airy crumb
Many bakers also love sourdough because long fermentation helps improve digestibility and gives bread a more traditional artisan quality.
Even better, sourdough baking allows you to reduce food waste by using sourdough discard instead of throwing it away.
Step 1: Mix the Starter and Water
In a large mixing bowl, combine the unfed sourdough starter and warm water.
Stir until the starter loosens and blends into the water. It does not need to dissolve perfectly.
Warm water helps encourage fermentation and wakes up the natural yeast inside the starter.
Step 2: Add the Flour and Salt
Add the bread flour and sea salt directly into the bowl.
Mix everything together using your hands or a wooden spoon until no dry flour remains. The dough will look rough, sticky, and shaggy at first, which is completely normal.
Unlike traditional sourdough recipes, there’s no kneading required here.
The long fermentation will naturally build gluten and structure over time.
Step 3: Let the Dough Ferment
Cover the bowl with a towel, lid, or plastic wrap and leave it at room temperature for about 8–14 hours.
Overnight fermentation works perfectly for this recipe.
As the dough rests, the natural yeast slowly ferments the flour and creates air bubbles throughout the dough. By morning, the dough should look:
- Puffy
- Airy
- Slightly jiggly
- Full of bubbles
The longer fermentation also creates deeper sourdough flavor.
If your kitchen is very warm, check the dough earlier so it does not overproof.
Step 4: Shape the Dough
Lightly flour your countertop and gently turn out the dough.
Try not to press out too much air because those bubbles help create the soft open crumb inside the bread.
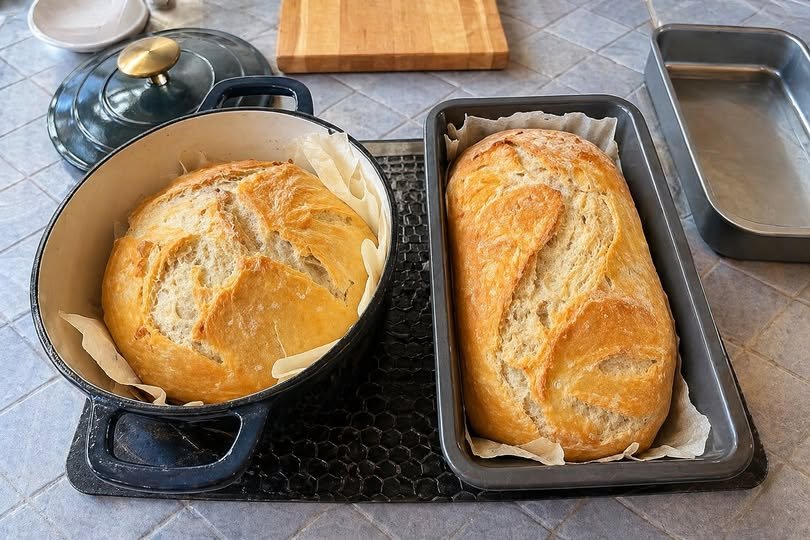
Shape the dough carefully into:
- A round boule
or - An oval artisan loaf
This recipe is forgiving, so the shaping does not need to be perfect.
Rustic loaves always have the most character.
Step 5: Prepare the Dutch Oven
Place the shaped dough onto parchment paper and transfer it into a Dutch oven.
One unique thing about this recipe is that the Dutch oven goes into a completely cold oven.
There is no need to preheat first.
As the oven slowly heats, the dough continues rising gently, helping create beautiful oven spring and crust development.
Step 6: Bake the Bread
Set the oven temperature to 450°F (230°C).
Bake covered for 55 minutes.
The lid traps steam inside the Dutch oven, which helps create that classic artisan sourdough crust.
After 55 minutes:
- Remove the lid
- Bake another 10–15 minutes
The loaf should become deep golden brown with a crispy crust and rich caramelized color.
Your kitchen will smell absolutely incredible during this stage.
Step 7: Cool Before Slicing
Once baked, transfer the bread to a cooling rack and allow it to cool for at least 1 hour before slicing.
This step is important because the inside of the loaf continues setting while it cools.
Cutting too early may result in a gummy texture.
Waiting patiently gives you the perfect crumb texture inside.
Tips for the Best Unloaf Sourdough
Use Bread Flour for Better Rise
Bread flour creates stronger gluten structure and helps the loaf rise higher.
Longer Fermentation = More Flavor
Fermenting closer to 12–14 hours develops a tangier sourdough taste.
Avoid Overproofing
If your kitchen is very warm, start checking the dough earlier to prevent collapse.
Let the Bread Cool Fully
Cooling improves texture and makes slicing easier.
Ways to Enjoy This Bread
This easy sourdough loaf tastes amazing:
- Warm with butter
- Toasted with jam
- Alongside soup or pasta
- Used for sandwiches
- Dipped in olive oil
The crispy crust and soft chewy center make it perfect for almost anything.
Final Thoughts
This Unloaf Sourdough recipe proves that homemade artisan bread does not have to be complicated. With no stretch-and-folds, no cold ferment, and minimal hands-on work, it’s one of the easiest ways to make beautiful sourdough bread at home.
Whether you’re new to sourdough baking or simply want a more relaxed recipe, this loaf delivers incredible flavor, texture, and simplicity every single time.
Once you try it, you may never go back to complicated sourdough methods again.


