Homemade Sourdough Bread Recipe: A Simple Guide to Baking Artisan Bread at Home
There is something incredibly comforting about homemade sourdough bread. The smell that fills the kitchen while it bakes, the crispy golden crust, and the soft chewy center create an experience that store-bought bread simply cannot match. Sourdough has become one of the most loved homemade breads because of its deep flavor, beautiful texture, and traditional baking process.
Unlike regular bread that relies entirely on commercial yeast, sourdough uses a fermented starter made from flour and water. This natural fermentation process creates a unique taste with a mild tang and also develops a rich texture that many bread lovers enjoy.
If you have been wanting to learn how to make sourdough bread at home, this recipe is beginner-friendly while still creating bakery-style results. The process may seem long at first, but once you understand the rhythm of sourdough baking, it becomes enjoyable and rewarding.
Why Homemade Sourdough Is Special
Sourdough bread stands apart because of the fermentation process. During fermentation, natural yeast and beneficial bacteria work together to slowly develop flavor and structure within the dough.
Many people love sourdough because:
- It has a rich and complex flavor.
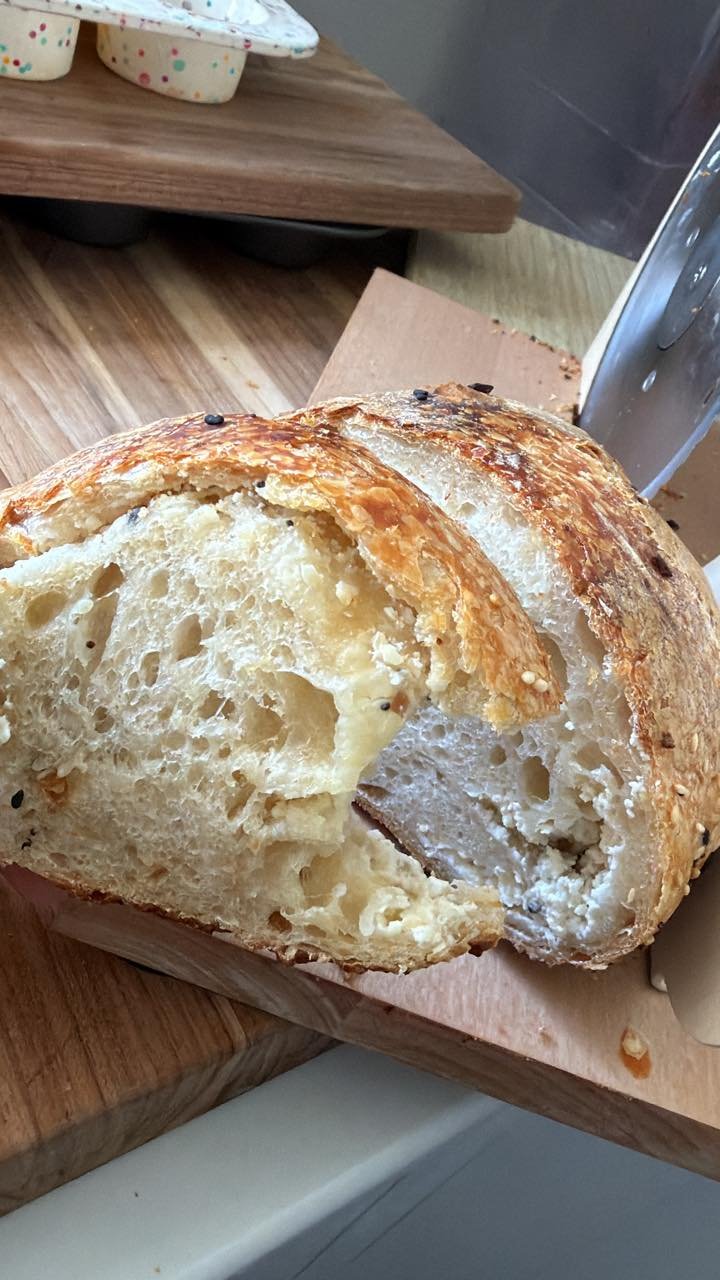
- The crust becomes beautifully crisp.
- The inside stays soft and chewy.
- It can be customized with different flavors and toppings.
- Homemade bread feels fresh and satisfying.
Adding everything bagel seasoning during the folding process creates an even more flavorful loaf with delicious savory notes.
Ingredients
For this homemade sourdough recipe, you will need:
- 125g sourdough starter
- 325g warm filtered water
- 500g bread flour
- 10g salt
Optional:
- Everything bagel seasoning
Understanding the Ingredients
Sourdough Starter
The starter is the heart of your bread. It contains natural yeast and bacteria that help the dough rise and develop flavor.
An active starter should look bubbly and expanded before use.
Warm Filtered Water
Warm water helps activate the fermentation process and makes mixing easier.
Bread Flour
Bread flour contains more protein than all-purpose flour. Higher protein helps create stronger gluten development and gives the bread its chewy texture.
Salt
Salt does more than improve flavor. It strengthens gluten structure and helps control fermentation.
Step-by-Step Instructions
Step 1: Mix the Ingredients
Begin by adding your sourdough starter and warm filtered water to a large mixing bowl.
Mix gently until the starter dissolves into the water.
Add bread flour and salt.
Mix everything together until a rough dough forms.
At this stage, the dough may look uneven and slightly sticky, which is completely normal.
Step 2: Knead the Dough
Transfer the dough onto a clean surface and knead for approximately 5–8 minutes.
You do not need aggressive kneading. Focus on gently stretching and folding the dough until it starts becoming smoother.
As gluten begins to develop, the dough will feel stronger and more elastic.
Step 3: Allow the Dough to Rest
Place the dough back into the bowl and cover it.
Allow it to rest for 30–45 minutes.
This resting period is often called the autolyse stage and helps:
- Hydrate the flour
- Improve gluten development
- Make the dough easier to handle
Step 4: Perform Coil Folds
Now comes one of the important steps in sourdough making.
Complete 4 sets of coil folds.
To perform a coil fold:
- Wet your hands slightly.
- Lift the dough gently from the center.
- Allow the ends to fold underneath naturally.
- Rotate the bowl.
- Repeat.
Wait approximately 30 minutes between each set.
During every fold, you will notice the dough becoming stronger and smoother.
Step 5: Add Everything Bagel Seasoning
If you want additional flavor, add everything bagel seasoning during the last coil fold.
Sprinkle it evenly across the dough surface before folding.
The seasoning adds:
- Garlic flavor
- Onion notes
- Sesame seeds
- Savory crunch
Step 6: Bulk Fermentation
After completing the folds, cover the dough and allow it to continue fermenting.
Depending on room temperature, this process may take several hours.
Signs your dough is ready include:
- Increased volume
- Small bubbles
- Softer texture
- Slight jiggle when moving the bowl
Step 7: Shape the Dough
Lightly flour your work surface.
Turn out the dough and shape it carefully.
Create surface tension by pulling the dough gently toward yourself.
Place the shaped dough into a floured proofing basket or bowl lined with a towel.
Step 8: Final Proofing
Allow the dough to proof before baking.
Many bakers prefer refrigerating overnight because slow fermentation develops deeper flavor.
Step 9: Bake the Bread
Preheat the oven to 450°F (232°C).
If using a Dutch oven, preheat it as well.
Place the dough into the hot Dutch oven.
Score the top with a sharp blade.
Bake covered for approximately 20 minutes.
Remove the lid and bake another 20–25 minutes until deeply golden brown.
Helpful Tips for Better Sourdough
Use an Active Starter
Always make sure your starter is active and bubbly.
Avoid Too Much Flour
Sticky dough is normal. Adding excess flour can create dry bread.
Be Patient
Sourdough follows its own timing. Temperature can change fermentation speed.
Practice Regularly
Each loaf teaches something new.
Serving Ideas
Fresh sourdough pairs beautifully with:
- Butter
- Soup
- Eggs
- Sandwiches
- Avocado toast
- Jam and honey
- Cheese boards
Final Thoughts
Homemade sourdough bread is more than just a recipe; it is a process that turns simple ingredients into something special. Although it requires patience, every step contributes to the final loaf’s flavor and texture.
The crispy crust, chewy center, and deep flavor make homemade sourdough worth every minute of effort. Whether you enjoy it plain or with everything bagel seasoning, this recipe creates a delicious loaf that can easily become part of your baking routine.


