Creamy, rich, and layered with coffee-soaked cookies, this No-Bake Coffee Icebox Cake is the perfect chilled dessert for coffee lovers. Inspired by classic tiramisu, this easy dessert combines silky homemade custard, soft biscuits, and deep coffee flavor into one irresistible treat — all without turning on the oven.
✨ What Makes This Dessert Special?
This icebox cake is simple, elegant, and incredibly satisfying. Instead of baking, the dessert sets in the refrigerator, allowing the cookies to soften into delicate cake-like layers.
The creamy custard pairs beautifully with the bold coffee flavor, while a dusting of cocoa powder adds the perfect finishing touch. It tastes luxurious but uses basic kitchen ingredients, making it ideal for everyday desserts or special occasions.
❤️ Why You’ll Love This Recipe
- No oven required
- Easy to prepare with simple ingredients
- Rich coffee flavor with creamy layers
- Perfect make-ahead dessert
- Inspired by classic tiramisu
- Soft, melt-in-your-mouth texture
- Great for parties and family gatherings
🛒 Ingredients
Custard Filling
- 6 egg yolks
- 130g sugar
- 90g cornstarch
- 820ml milk
- ½ vanilla bean or vanilla extract
Layers
- 320g dry biscuits or ladyfingers
- Brewed coffee mixed with milk
Topping
- Cocoa powder for dusting
👩🍳 Step-by-Step Instructions
Step 1: Prepare the Custard
In a large bowl, whisk the egg yolks and sugar together until smooth and pale.
Add the cornstarch and whisk until completely lump-free.
In a saucepan, heat the milk with the vanilla until it begins to simmer gently.
Slowly pour the hot milk into the egg mixture while whisking continuously to prevent curdling.
Return the mixture to medium heat and cook while stirring constantly until thick, creamy, and smooth.
Transfer the custard into a bowl and cover the surface directly with plastic wrap to prevent a skin from forming. Let it cool completely.
Step 2: Make the Coffee Mixture
Prepare strong brewed coffee and mix it with a little milk. Allow it to cool before using.
This mixture gives the dessert its signature rich coffee flavor.
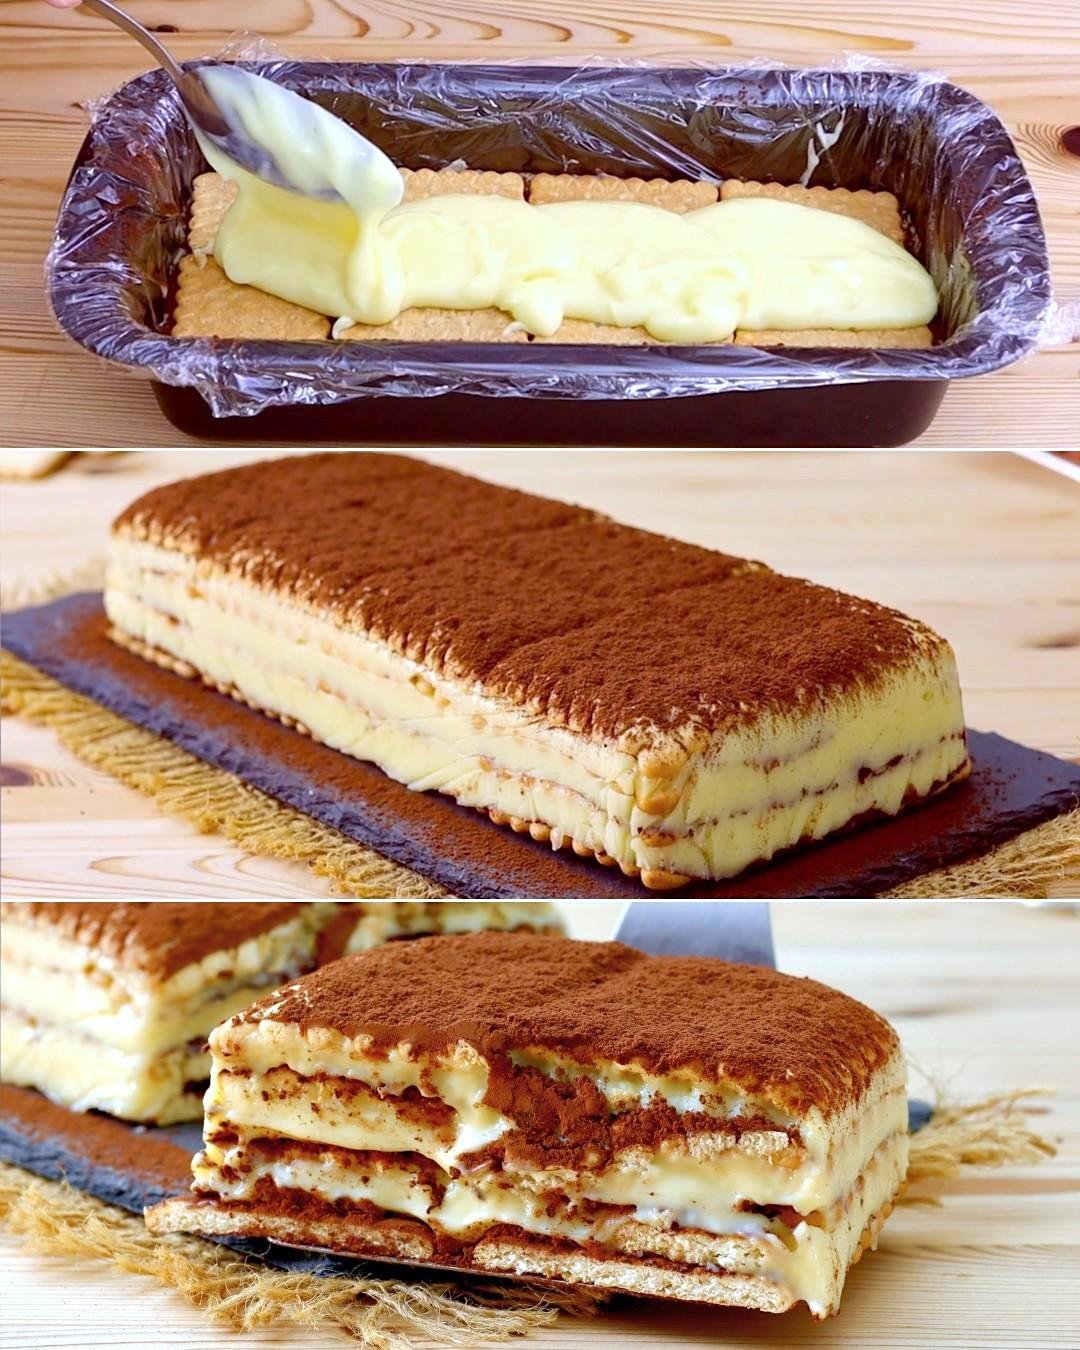
Step 3: Assemble the Layers
Line a loaf pan or serving dish with plastic wrap for easier removal.
Quickly dip each biscuit into the coffee mixture — just enough to soften without becoming soggy.
Arrange a layer of soaked biscuits at the bottom of the dish.
Spread a layer of cooled custard on top, then lightly dust with cocoa powder.
Repeat the layers until all ingredients are used.
Step 4: Chill the Dessert
Cover the dish and refrigerate for at least 2–3 hours. For the best texture and flavor, chill overnight.
This resting time allows the layers to soften beautifully and blend together.
Step 5: Slice & Serve
Once fully chilled, remove the cake from the mold, slice carefully, and serve cold.
Each slice reveals creamy coffee layers with a soft, delicate texture that melts in your mouth.
🌟 Tips for the Best Icebox Cake
- Use freshly brewed coffee for deeper flavor
- Allow custard to cool fully before layering
- Dip cookies quickly to avoid sogginess
- Chill overnight for the best texture
- Use high-quality cocoa powder for richer taste
🍫 Delicious Variations
Chocolate Coffee Cake
Use chocolate biscuits or add chocolate chips between layers.
Extra Creamy Version
Add whipped cream layers for a lighter texture.
Tiramisu Style
Add a splash of coffee liqueur for a richer dessert.
Nutty Twist
Top with crushed hazelnuts or almonds for crunch.
🧊 Storage Tips
- Keep refrigerated in an airtight container
- Best enjoyed within 3 days
- Can be prepared a day ahead for better flavor
Always serve chilled for the perfect creamy texture.
💛 Final Thoughts
This No-Bake Coffee Icebox Cake is proof that incredible desserts don’t need complicated techniques or baking skills. With its creamy custard, coffee-soaked layers, and rich cocoa finish, it delivers the perfect balance of flavor and texture in every bite.


